Dog

Dog

Friday 29 March 2019

My March Art Projects


Blog 13

It is hard to believe that another month has passed. I would like to take this opportunity to share my creative projects of the month with you. Finding time to be creative was challenging as my parents visited us for a couple of weeks, and I had another cold that slowed me down. At least, it did not prevent me from continuing the back of my knitted cape, which is my own design. I will post a photo when it is finished.

Bouquet of Joy, acrylic, 20" x 16" unfinished
During the month, I started three new paintings, two are of flowers. The long winter makes me long for the bright colours of spring flowers and the green of the grass. The first bouquet of orange-red tulips inspired me to capture the beauty of the flowers in a 20” x 16” acrylic painting.


"Almost Nighttime", acrylic, 16" x 20", unfinished
For the painting demonstration at DeSerres at the St. Laurent Centre, I prepared the composition and rough block-in of colours for two paintings as I did not know what I would feel like painting: one image captures the last minutes before darkness fell over the St. Lawrence River in Kamouraska, the other the first daffodil of the year. In the end, I decided to paint the evening scene during the demonstration but continued the daffodil painting the following weekend. At the moment, I have six paintings that are waiting to be finished. My mood will guide me in picking the one that I want to work on during my time in the studio. Right now, I have a big longing for flowers and spring.

"The First Daffodil", acrylic, 12" x 12"


I took out my sketchbook on a couple of occasions. I created the sketch of the totem pole and of a man reading while waiting for a client. The sketches from “The King & I” are from memory as it was too dark during the event. I drew them during the intermission. "Marvin’s Room" at the Ottawa Little Theatre gave me lots of opportunities to sketch but in the second part, the actions on the scene got so intense that I forgot all about sketching.


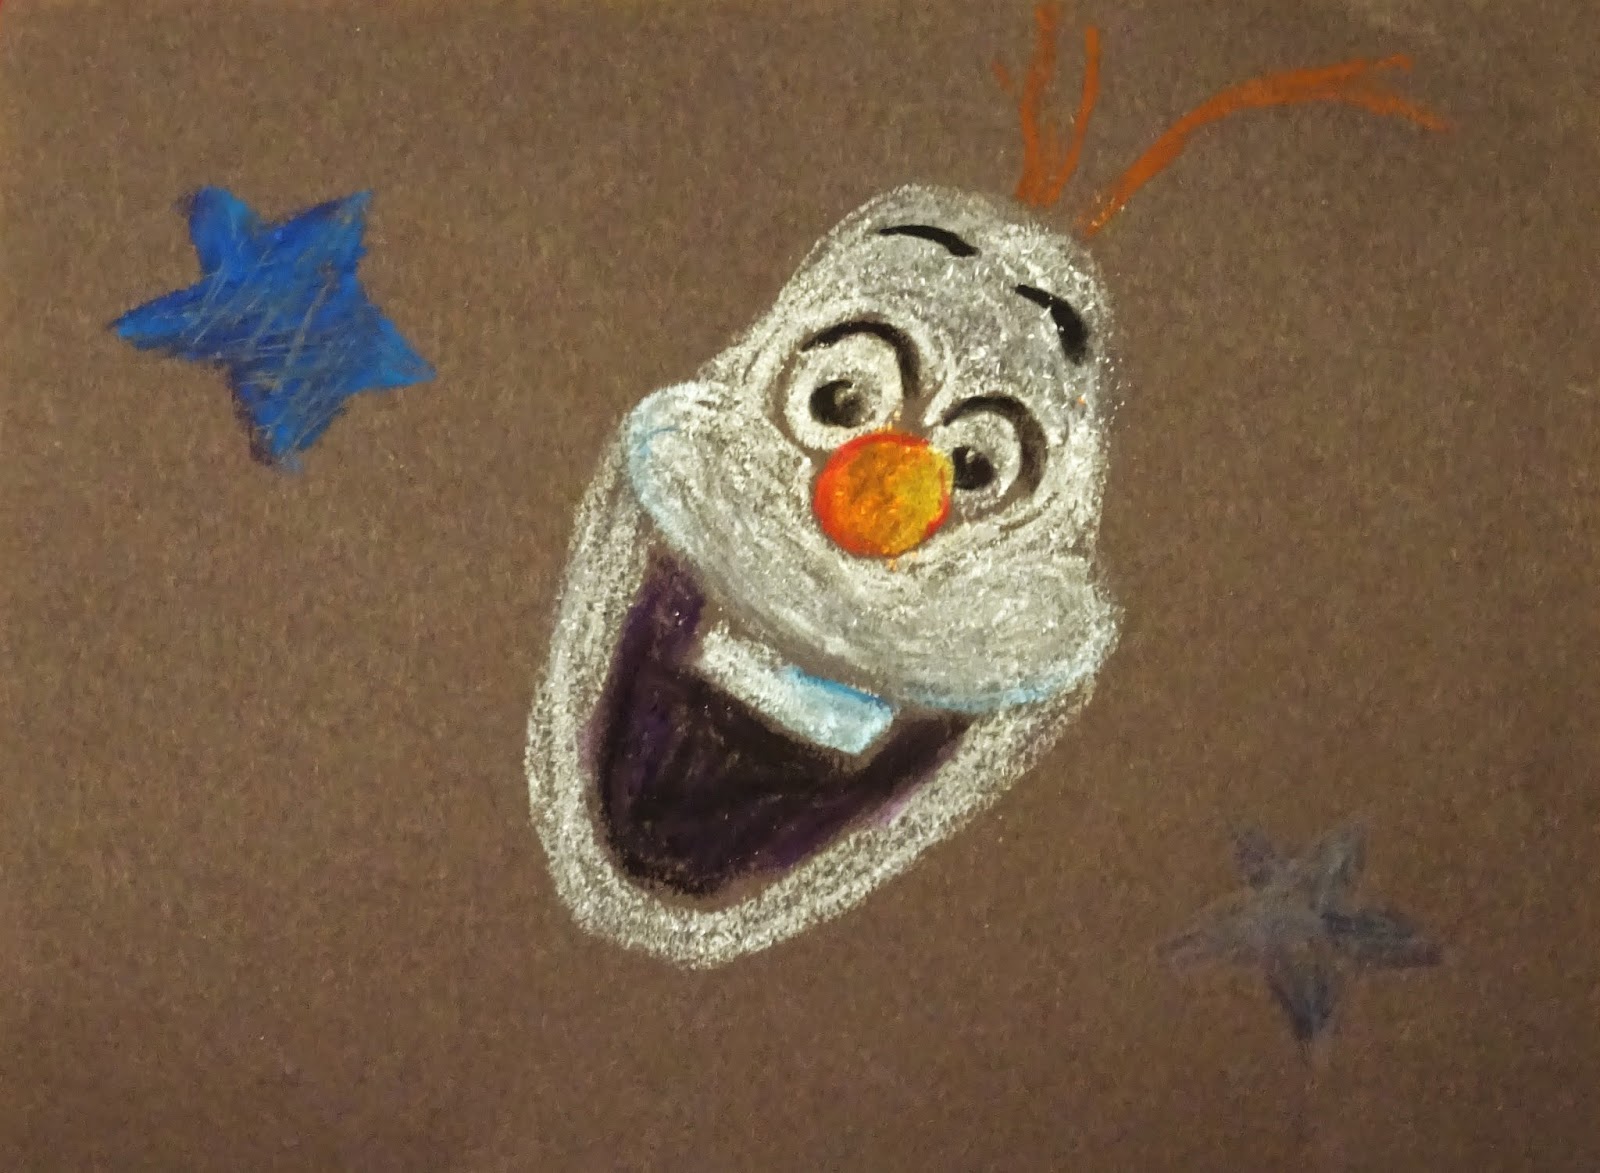
For my several Cartooning and Comics classes, I created drawings of Dog Man and Harry Potter as well as for the first two scenes of the comics that were the final project of my two groups of students. The one group picked Dog Man and the second Captain Underpants and Garfield as their main characters. The students had to create their own setting and finish the story with a third image.


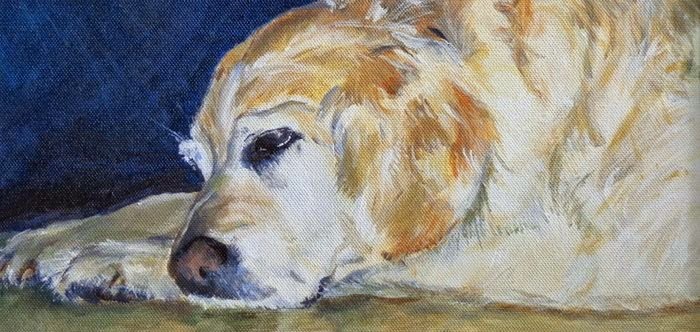
I also picked up my felted version of our dog Alex again. I had to stop felting my dog last year when I ran out of fur. Our cat Miko loved snuggling with this smaller version of our big dog and started kneading the fur while ripping apart the body in the process. As cute as he looked sleeping with my felted dog, I have to admit that I was a little frustrated when I had to figure out where to start again. Two days ago, Miko almost succeeded again in taking my felted dog apart. I have to make sure that I keep my work locked away from him.


Talking about felting, I added another felted Easter egg workshop that is running on April 15, 2019, at 2pm. In this workshop, you can learn the relaxing and enjoyable process of needle felting. If you would like some more information and to register, please go to my website www.KerstinPeters.ca.

Have you started any new projects or would like to share a finished craft or artwork with me? I would love to see what you are creating. Please do not hesitate to contact me if I can help you in any way. You can either leave a comment or contact me directly at info@KerstinPeters.ca.


Friday 22 March 2019

The Difference Between a Painting Party and a Workshop


Blog 12


Over the last decade, painting parties have been increasingly successful. I am sure, we all know friends and family members who have been to at least one painting party. Some people love them so much that they register for them regularly. If you are new to painting, you might be wondering about the differences between a painting party and an art workshop. Here is a short comparison of the two.

Let’s start with the painting party. The first painting party companies were founded about 10 years ago. Many are franchise based, and they offer a full-service painting experience for everyone. No painting skills are required, and all the materials are provided. The participants register to create a certain painting, and an artist offers step-by-step instructions to paint the image. These events are often hosted in restaurants, where the participants can enjoy some drinks while painting. At the end of the event, each participant leaves with a finished painting. It is not the participants' goal to learn painting but to have a good time - often with family, friends or colleagues -, to relax, to socialize, and to take a unique keepsake home as a lovely memory of the entertaining evening. Painting parties are a great way to spend quality time together at an affordable price tag.


inspired by F. Varley's "Stormy Weather"
On the other hand, when you register for an art workshop, you intend to learn something new or to improve your existing skills. The instructor will demonstrate a certain technique or medium during the workshop. The focus during a workshop is to help each student to express their own ideas and individuality in their artworks. As the instructor will pay attention to each participant, the groups are a lot smaller than for most painting parties.

When I started to offer painting parties, I focused on smaller groups because I wanted to help participants to have fun on a more personal approach. With the smaller groups, I can still go around in between steps and give some tips and encouragement when necessary. It is a more personal experience, both for the participants and for myself. It is very satisfying to see how happy the participants are when they look at their finished project. While some will continue and are excited to visit paint parties, for others the painting parties awaken the thirst to create their own art.

If you are interested in learning more about the painting parties and workshops that I offer, please visit my website www.KerstinPeters.ca. I am also prepared to help you to host a personal painting party for a special event, e.g. a birthday party, bridal shower, retirement party. I love to share my passion with you and help to bring more joy into your life by creating lasting memories.


Friday 15 March 2019

Product Review: Crayola Oil Pastels


Blog 11


During the last session of my Cartooning & Comics classes, I introduced Crayola Oil pastels to offer the children (aged 5 - 12 years) a different medium. They had worked with pencils, coloured pencils, crayons, and markers already but were immediately attracted to the bright colours and liked that they could blend the colours.

Before I bought the pastels, I did some research as they were quite low-priced. I wanted to avoid buying a product of poor quality that would result in a frustrating experience for the students.

Despite the good reviews, I was still sceptical. Therefore, I was pleasantly surprised when we used the pastels in class. The colours are well pigmented. Due to the hexagonal shape, it was less likely that the sticks rolled off the table. The solid sticks were a good size compared to many low-cost brands. They felt nice in your hand and were less likely to break in the hands of children. To avoid stained tables, tablecloths or clothes, I suggest to cover the workspace and wear clothes that can get dirty or a smock. At least roll up your sleeves.

While you can use your fingers to blend these certified non-toxic oil pastels, I prefer to teach the proper use of materials to the kids from the beginning. Not all oil pastels are non-toxic and blending with your fingers can get very messy. Therefore, I gave every child some paper towel sheets. Cotton swabs would also work great.

For our first project, we drew on black construction paper. The colours did not bleed through the paper and the bright colours really popped out. When we used the pastels in our regular sketchbook, they also did not bleed through but transferred to the page on top.

Using dark colours next to a light colour was a challenge for most of the children. When they outlined their characters, they smudged the lighter colour. Most of the children also had some colour on their hands from rubbing inadvertently over their drawing. Children who had drawn the character quite small found it difficult to create the details with the chunky sticks.

Often, kids do not have a lot of patience. That is why most of the students loved that the soft and creamy pastels covered large areas fast. It will be hard to get them to use crayons after they have worked with oil pastels. With the hard crayons, it takes a lot more time and pressure to get a solid cover of an area, they do not blend, and the colours are a lot less vibrant. However, their tips make it a little easier to colour smaller areas of an image.

The star in the right hand corner was drawn with crayons.

I can definitely recommend the Crayola oil pastels for both children and adults who want to practice with oil pastels. I had a lot of fun creating my little Pikachu and Olaf characters. The pastels are recommended for children over 4 years.


Friday 8 March 2019

What to Do with Your Children’s Artworks


Blog 10, March 8, 2019

Last week, I gave you some ideas for March Break projects that were easy to create at home. I hope that they inspired you to spend some creative time with your children, whether doing crafts together, painting, making music, or creating a new dish together. These special moments of time will stay with both of you throughout the years.

If you have children who love to create artworks, I am sure that you will proudly put up some of the creations on your refrigerator door and maybe even frame some special pieces. At some point, however, you will ask yourself what you shall do with all the masterpieces.

At the beginning of their life, every artwork seems to be a masterpiece, even if your children hardly participated in the creation. If you look back at these artworks a couple of years later, you wonder why you even bothered to hang on to them, because they cannot compare to your children’s latest art projects. However, it is interesting to keep some of the earlier works because they show your child’s progress. I am not talking about your child’s first scribbles but about their first expression through art. I am always amazed to see the progression in expression and skills when I have the pleasure of seeing some of my students evolve over the years.

Here are some suggestions that helped me to decide what to do with my children’s artwork:

  • When we recently considered selling our house, I went through all of my children’s artworks that I had collected over the years and decided what should be kept and what should either be recycled or reused for another purpose. If I could do it all over again, I would keep the artworks for a year before sorting through them. In the end, I kept pieces that had a special meaning to me, either because they marked a certain milestone or because I loved the image. 2D artworks can be kept in a portfolio book where they are easily accessible and protected. Some drawings or paintings can be reused for greeting cards, gift wrap, or within a new art piece.

  • If you feel there are still be too many masterpieces that you cannot part with, consider scanning them before you throw them out. Sometimes, the materials that were used would not stand the test of time anyway.

  • When my son was three years old, he created huge structures from recycled containers. At some point, the structures threatened to take over my son’s room and we threw them out. In hindsight, I wish that we would have taken some photos before we disassembled them for the recycling bin. Photos are definitely a good option for bigger pieces or 3D structures.

What do you do with your children’s artworks? Do you feel guilty when you think of throwing them out? Do you get your children involved in the process of deciding what stays and what will be thrown out?

I feel lucky that my parents saved some of the artworks from my childhood. I find it fascinating to see what I was able to do at a young age and the progression over the years. I am sure your children will feel the same way one day. Do you still have some of your artworks from your childhood? How do you feel about them today?


Friday 1 March 2019

March Break Projects


Blog 9

March Break is around the corner, and you might be looking for easy art projects that you can do with your children. Here are three mixed media examples from projects that I did with my art students who were between 5 and 12 years old. However, I am sure that these projects would also be a lot of fun for teenagers if you pick a theme and characters that they enjoy.


Project 1: Underwater World

Materials:

  • Poster board, 22 x 28 inches
  • Pencil
  • acrylic or poster paints
  • palettes or white plates
  • brushes
  • water containers
  • paper towels
  • Liquid glue
  • scissors
  • newspaper
  • table cover

optional:
  • tissue paper
  • wool
  • pipe cleaners
  • buttons
  • googly eyes
  • foam shapes
  • clothespins


I actually cut the poster board in two as we had a big class of students but you could use a full board for the art project. Maybe, your children would like to work together on one project. In this case, I would definitely use one whole poster board.

Step 1:
Draw the animals first onto the newspaper and then cut them out.

Step 2:
Most children in the course preferred to paint the animals first before glueing them to the board to avoid getting the paint on the poster board, but you could also glue the animals onto the poster board first and then colour them.

Step 3:
Wool, tissue paper, pipe cleaners, buttons, and foam shapes can be glued on the paper to create the vegetation or bubbles. I used clothespins to keep the glued on pipe cleaners in place while the glue was drying. The googly eyes can be used for the animals.


My version of Mike Wazowski from "Monsters, Inc."

Project 2: Paper Collage Superhero

Materials:

  • Poster board, 22” x 28” or cardstock paper 8 ½” x 11”
  • Glue sticks
  • Old magazines
  • Pencil and eraser
  • Black maker


Step 1:
You start the project by drawing an easy character (either from a movie or comic or invented) on the poster board or paper. The character should be quite big as it is hard to glue tiny pieces of paper into small areas.

Step 2:
You rip small pieces of paper in the colours needed from magazines and glue the pieces to fill the shapes of your drawing. It looks best if the paper pieces are slightly overlapping.

Step 3:
You outline the character, eyes and mouth with black marker.


Project 3: Mixed Media Self-Portrait

When I had been looking for ideas for my mixed media projects, I came across the excellent book “Van Gogh and the Post-Impressionists for Kids” by Carol Sabbeth. One of the suggested activities is related to van Gogh’s painting “Portrait of Père Tanguy”. The background is covered with little paintings inside of the painting that frame Tanguy’s portrait. The suggested activity was to create a portrait that would be glued onto a background covered in images from magazines.

Materials:

  • Magazines
  • Scissors
  • Glue sticks
  • Cardstock paper for the background
  • Regular white paper for the portrait
  • Pencils
  • Erasers
  • Markers
  • Crayons
  • Coloured pencils

Step 1:
Create a self-portrait (full person or just upper body) with pencils, markers, crayons or coloured pencils. The portrait does not have to be realistic. It can be you in the form of a superhero or in the style of the Lego movies or Minecraft characters.

Step 2:
Cut out pictures from the magazines that appeal to you (favourite foods, travel destinations, animals, etc.)
Glue the pictures onto the cardboard until it is completely covered.

Step 3:
Glue the portrait on top of the pictures so that it is surrounded by the images that you cut out.


I hope you have fun creating art with your children. It is not only fun, but you will also create lasting memories.